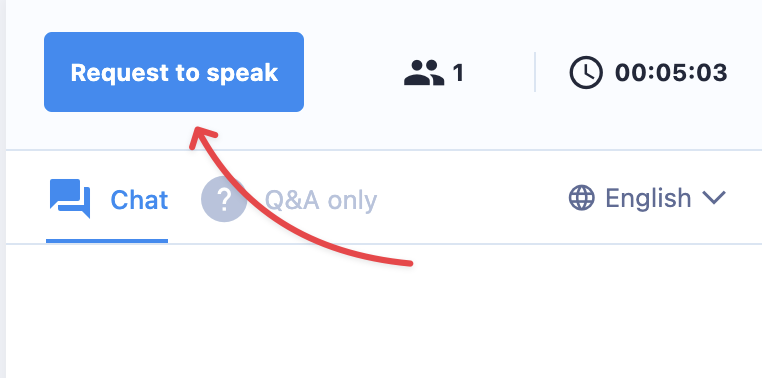
The Request to Speak feature allows attendees to ask to join your live webinar stage using their camera and microphone. Use this feature for live Q&A, testimonials, or interactive workshops, any time you want to bring an attendee on screen temporarily.
Make your sessions interactive
You can use this feature to turn passive viewers into active participants. It helps you add energy, connection and authenticity to your live webinars.
Try the following ideas:
- Live Q&A: Let attendees ask questions on camera instead of chat
- Panel discussions: Rotate attendees onto the stage to bring in their perspectives
- Workshops or coaching: Allow attendees to show their work and get feedback in real time
- Testimonials: Invite attendees to share their experience of the webinar live
Key Details
- The webinar feature is only available in Growth and higher plans.
- Attendees who become speakers count toward your total presenter limit. You can have up to 6 presenters or speakers in a webinar.
- Guest speakers can only access chat and Q&A, not other room controls.
- The feature is enabled by default in live rooms.
How to use the Request to Speak feature
For Presenters
- In the live room, click on Settings.
- The Request to Speak feature is enabled by default.

- To allow attendees to submit speaking requests, keep the option enabled at all times.
- Click on the Speak icon to view the requests. You will see the attendee’s name.
- Click on the blue tick mark icon to allow the attendee to join as a speaker.

- To return them to attendee mode, click Eject Presenter.

For Attendees
- To join the room as a speaker, click on the Request to Speak button on the top right of the screen.

- If your request is accepted, you will be redirected to the pre-webinar audio and video test to check if your camera and microphone are working.
- Once you can see and hear yourself in the test, click on Yes.
- You will be redirected to the webinar room as a speaker. You will have access to the chat and Q&A section.
